How to Clean And Disinfect Your Used RV
A used RV is the most affordable option for anyone looking to enjoy that lifestyle. Unfortunately, used RVs have been used. And chances are, your new rig isn’t exactly spotless. There will be stains and smells courtesy of the former owner, but here’s how s to clean your new-to-you RV.
Start with the surfaces and appliances
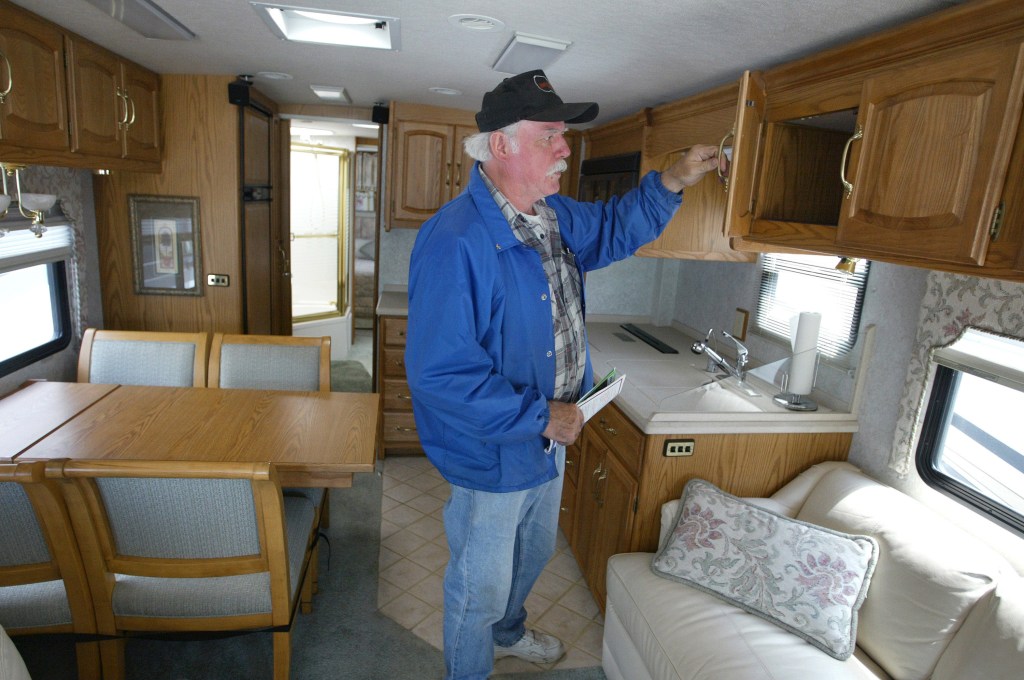
Starting with the inside of your RV makes sense. After all, cleaning the appliances of a motorhome isn’t much different from cleaning them in an actual home. Wipe down the countertops first, so that you have somewhere clean to place your cleaning supplies. From there, continue working up to appliances.
Move to the cabinets and the drawers of your RV before dealing with the surfaces of your appliances, such as the fridge or microwave. Then, clean the insides, as any sticky residue can and will attract bugs. And you don’t want hitchhikers in your RV.
If you have a stove or burner, it’s also good to clean that to prevent smoke from building up in the RV while cooking. It’s a confined space, and they’re likely aren’t smoke alarms inside, so risking a fire isn’t worth it. And in the event that one does occur, it’s wise to keep a fire extinguisher within arms reach of the stove.
Bathroom surfaces will require deeper cleaning, and you want to make sure there’s no trace of the former owners in there. However, RV materials are often cheaper, so make sure you use an abrasive cleaner that won’t damage the tub or shower walls. You could buy disinfectants designed for RVs, but the cheap solution is to mix water and vinegar, which is non-toxic and naturally acidic.
Lastly, you can’t forget about the surface you walk on. Depending on the material, take a broom, mop, or even a vacuum and give the floor a once-over. And be sure to keep a broom on hand, as you’ll track dirt into the RV if you’re staying in nature.
Clean the RV’s air vents, and check for leaks
Chances are, you already checked the RV for leaks before buying it. But check the areas where those leaks were repaired even if the owner claims to have fixed them. Water damage is incredibly destructive and can lead to mold if left unaddressed. Cleaning water-damaged carpets and walls will be a day’s worth of work, but it’ll make the RV livable.
And speaking of livable, you have to be able to breathe. If your RV is air-conditioned, Also clean the vents and replace the cabin filters. This is especially important if the vents are placed on the floor, where crumbs can fall into. Remove the cover, take a nozzled vacuum, and get to work.
It’s also not a bad idea to clean your window screens, which you should’ve taken a look at while searching for leaks. After all, there will likely be bugs, dust, and cobwebs plastered to the screen. You can take a vacuum, or compressed air, to either suck or blow the debris away.
Move onto the RV’s exterior and water tanks
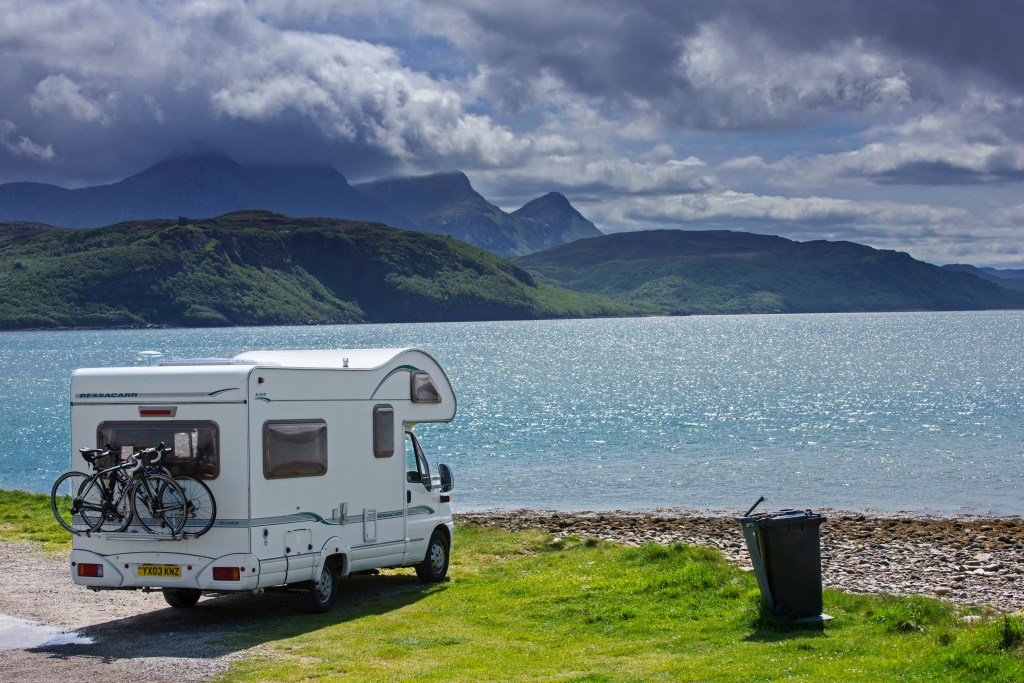
It’s tricky to wash an RV just due to its size. But RVs spring leaks rather easily, and many don’t clean them because it’ll just damage the inside. However, there’s no real way to know your RV is leaking unless it’s either raining, or you give it frequent baths.
Start by climbing onto the roof (if possible) and sweeping leaves, branches, and dirt off the top. From there, hit it with the hose. Getting all the excess debris off with water will not only improve your RV’s look but help you find leaks.
You’ll also want to clean the RV’s awning if it has one. Most acrylic awnings have a plastic finish that helps repel water and prevent mold. However, after many years of use, that finish will fade away. Be sure to use a cleaner that won’t speed up that process. Something that’s strong enough to eat through sap while you gently scrub with a soft sponge or rag will serve you well.
Lastly, and perhaps the most dreaded step of all, you’ll want to clean the tanks. Even if the owner emptied them, empty them again. For freshwater, open the drain so the water flows out. From there, stick a hose inside and just let it run until the hose water flows out the other side. You can also use freshwater cleaners for an extra clean tank.
Then you’ll want to clean the grey and black tanks. A grey tank holds water used for every water-related activity except flushing the toilet. That dirty job is reserved for the blackwater tank, which you should always clean first. After you’ve hooked up a hose to your RV and positioned it to drain down a designated city sewer, run more water through the tanks, and use tank sanitizer to prevent nasty smells.
There’s a lot to take into account for properly cleaning and maintaining an RV. But if you’re diligent, you’ll have a camping-ready vehicle that shines.