Stop Being Scared, Polishing Your Car Isn’t That Hard
In this article:
When I’m not busy writing sensational car content, I professionally detail cars, so I probably shouldn’t be saying this. But the fact is, polishing your car isn’t nearly as hard as some would have you believe. Like anything else, procedure and practice are all it takes to be a car polishing wizard. And while you won’t be performing Concours details in just a few days, you can make your car look great without endless hours of detailing classes. My main tip? Just pick up the damn polisher, already.
Dual-action polishers can make polishing your car a breeze
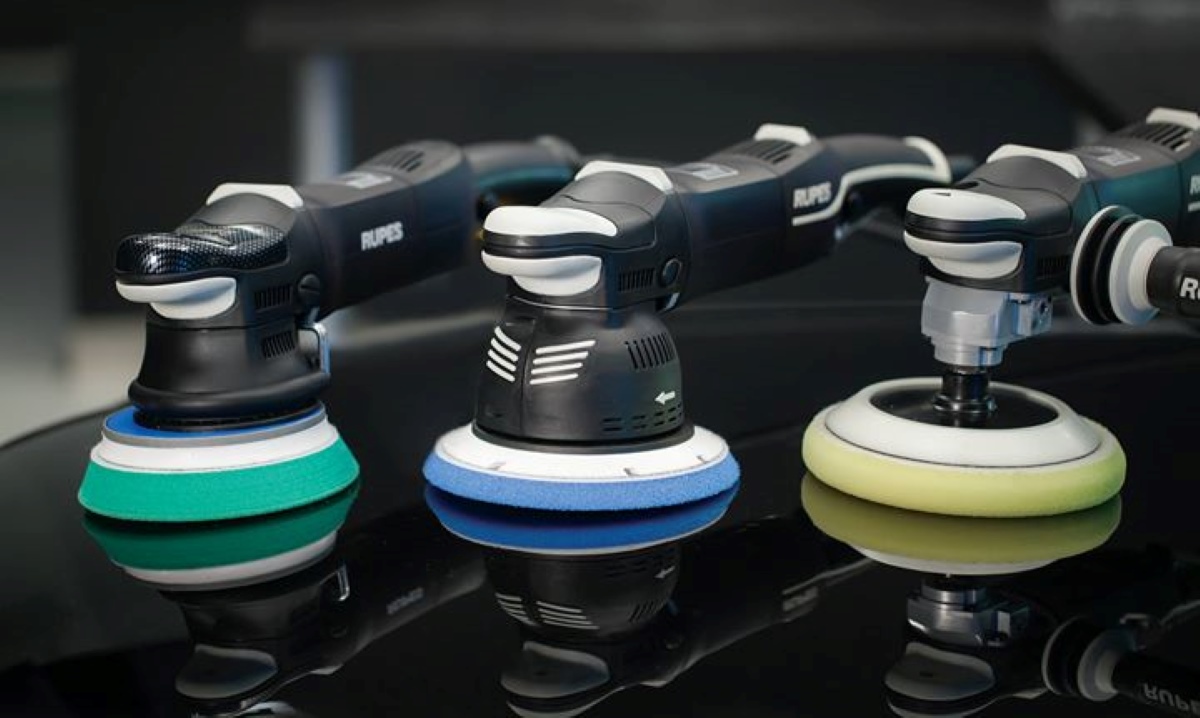
There are several dual-action polishers out there. They range from the $600 Rupes Bigfoot that I use to the $200 Griot’s Garage model that I started with. The Rupes is certainly a more powerful machine, but I was getting quality results with an Autozone-sourced Griot’s polisher after just a few hours of practice.
Dual-action polishers both spin and oscillate, creating an orbital effect that makes burning through paint a near impossibility. And if you don’t believe me, none other than Larry Kosilla proved it by deliberately burning through paint with his Rupes DA polisher. It took Kosilla over 10 minutes focused on one single spot to burn through the clear coat on a trashed Toyota Corolla. And while yes, every car is different, he proves that doing real damage with a dual-action polisher is incredibly difficult.
Grab a junkyard panel and some quality pads
Getting the right products can help make polishing your car a breeze. Grabbing cheap pads and polishes from Walmart probably won’t get you a great result. But spending a bit more on quality materials from Rupes, SONAX, or Meguiar’s helps make the polishing process easier. Once you know you have quality products to use, it’s all about following the process to get a good result.
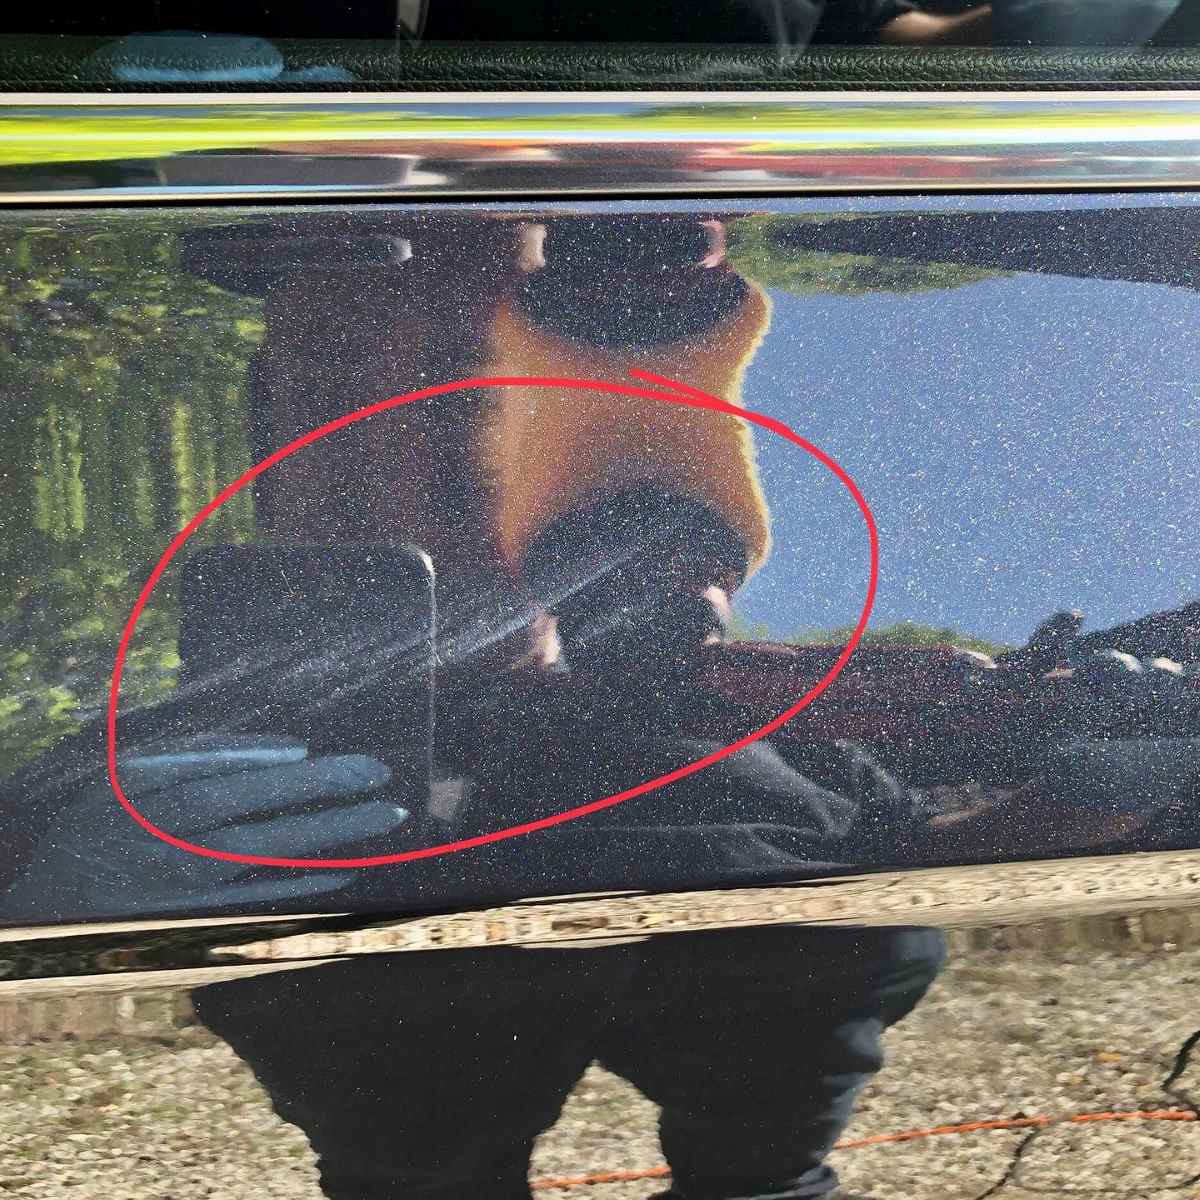
While super high-end detailing is equal parts art and science, if you’re just trying to remove light scratches to restore your clear coat, you can pick up the necessary skills in just a few hours. For heavier defects like oxidation, deep scratches, and etching from bird droppings, you may need a more aggressive approach.
Grab a hood or door from a nearby junkyard if you’re apprehensive about starting on your own car. Simply tape off the panels and follow the simple polishing process, and you’ll naturally find good results.
Quick tips for polishing your car at home
Of course, there are some basics that you can follow to make polishing your car easier.
- Keep your pad flat to the paint. Even on curves and edges, keeping your pad as flat as you can will ensure even polishing pressure and reduce the risk of burn-through on an edge. Don’t lean the polisher to one side or the other. A flat pad means even polishing power and lets the machine do the work for you.
- Use the right amount of polishing liquid for your application. Each brand has slightly different requirements. Find their respective YouTube tutorials and write down the ideal working time and coverage area to ensure you understand the proper process.
- Use a clay bar. Most of the damage you get when polishing your car comes from a surface that wasn’t prepared for polishing. Go beyond the wash with a clay bar to remove bonded contaminants and ensure a completely clean surface before polishing.
- Work in small sections. It’s easy to want to work half a hood or door panel at a time. However, trying to polish too large an area will reduce the effectiveness of both the pads and polishing liquids. Overworking your materials will diminish your results. Instead, work a two-foot by two-foot section at a time, first up and down, then left to right, adjusting as needed for edges and rounded corners. Working smaller is OK, working larger, often, is not.
- Wipe away polishing residue immediately. Leaving polishing liquid on the surface after you’ve polished makes it harder to remove and raises the risk of installing new scratches when you wipe it away. Furthermore, wiping the area immediately lets you check your work as you go, so you know what your car’s paint needs to look its best.
- Be flexible. Some cars will need only one pass. Some will need as many as three or four. Working in small sections and wiping the surface immediately can clue you into what process your car’s paint needs when polishing.
Just pick up the polisher already
As we’ve discussed, the odds of you harming your car’s paint are slim to none. When I started polishing, I was terrified that it would be easy to make a big mistake. But as I found out, learning a process and following the steps makes it easy to get a good result with minimal risk. Once you get the steps down, you’ll be surprised at how easily you can polish your own car and make it look great!