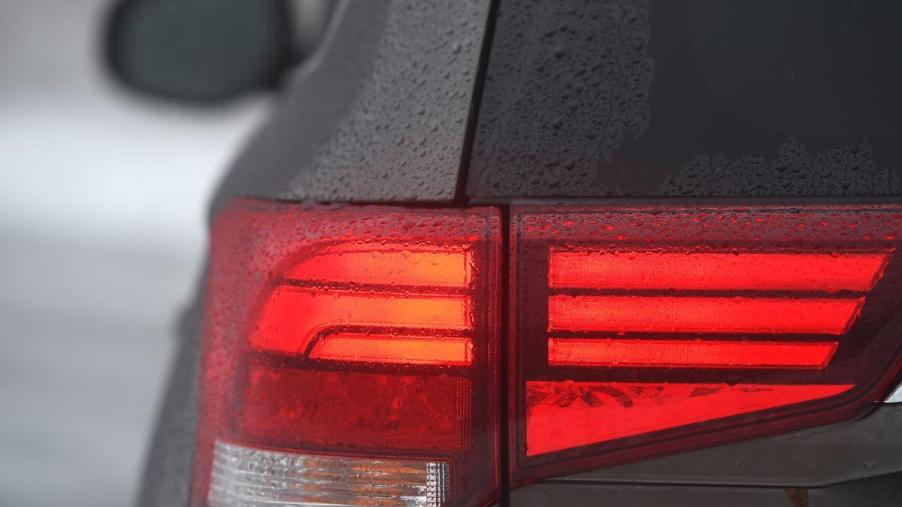
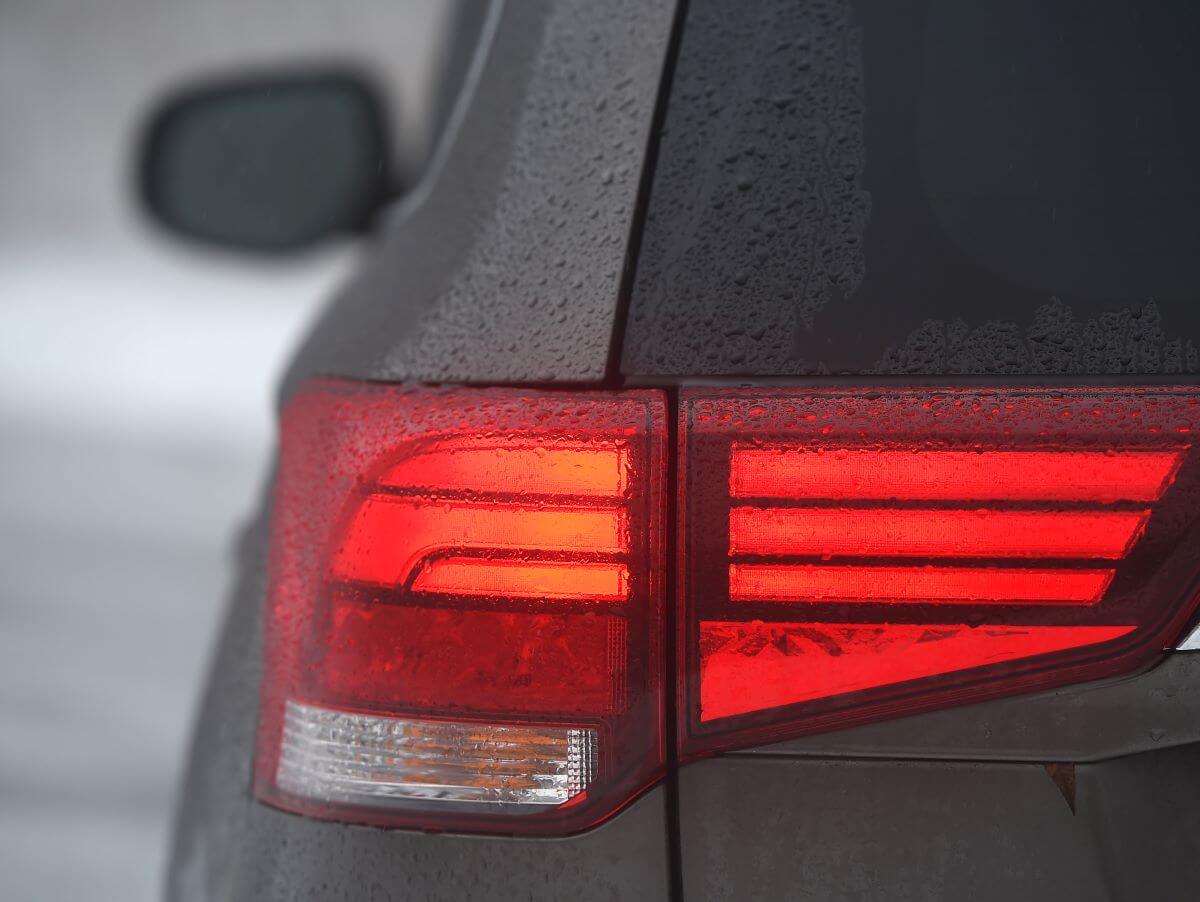
4 Common Brake Light Problems
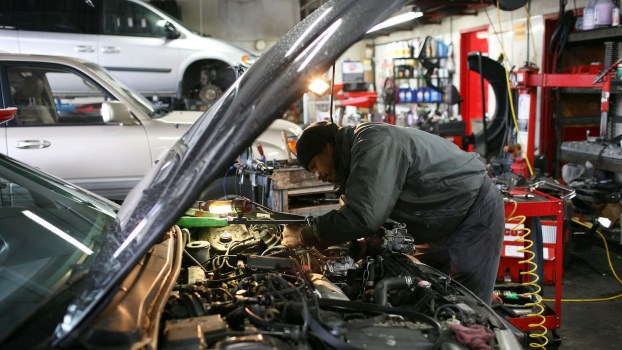
Brake lights are an essential car safety feature, especially when there’s fog or difficult weather conditions, as drivers behind you need to know when you’ve applied the brakes. If your tail lights aren’t working, you’ll need to troubleshoot to determine the problem. Paying a mechanic may not be in the budget for this issue, so here are a few ways to investigate the situation to decide if you want to perform your maintenance to repair it.
1. Brake light bulb that’s burned out and needs replacing
The most common brake light problem people have is a burned-out bulb. Granted, modern vehicles generally have LED lights, which tend to last much longer, but older cars will still have old-style bulbs that burn out more often. This is because you use your brakes often throughout the day, and the bulbs illuminate each time you press the brake pedal, according to NAPA. You usually find out when someone tells you because the vehicle isn’t likely to warn you about it.
To fix this problem, you simply need to replace the bulb. First, you’ll need to determine what type of brake light assembly you have on your vehicle. Stationary lenses will allow you to pop out the socket and access the bulb to replace it. Removable lenses must come out before you can get to the bulb. Then, check your manual to find out where to access the brake light on your car.
2. A fuse has blown
Another fairly common problem with an easy fix is a blown fuse. Your car will generally have two or three tail lights. If you find that none of the brake lights work on your vehicle, this would be the first place to look. Find the fuse box, which can be located under the hood or under the dash inside the car. Check your owner’s manual or the fuse box cover to determine which fuse controls the brake lights. See if the fuse has been blown.
If it has, find the same amperage fuse as the blown one and replace it. If it’s hard to tell whether it’s been blown or not, purchase a fuse tester to help you decide. Check to see if that fixed the problem. If not, go on to the next step.
3. Faulty brake light switch
If the bulb and fuse look good, the brake switch is the next thing to check. This can get dirty and wear out over time, especially since you use your brake pedals a lot each day. If the switch doesn’t make contact to signal the brake lights, they won’t light properly. If so, you’ll likely need to replace it.
Once you have the proper part, you’ll need to locate the old one under the driver’s dash behind the insulation. Once the part is replaced and the wires are connected accurately, you can test it to see if the brake lights work.
4. Malfunctioning bulb socket
Sometimes the bulb is good in a non-working brake light, but the socket is corroded or dirty and isn’t making proper contact. It’s even possible the wiring in the socket has just become worn. In this case, the socket will need to be replaced. Follow the same instructions for locating and removing the bulb or lens assembly to gain access to the part.
To replace it, you will need to cut it from the main wire assembly at the tail light. Attach the wires from the new socket by splicing them in. Then, replace the socket with the bulb back into the light assembly and test it out.
Brake lights will give you trouble on occasion. When they do, you can check the bulb, fuse, switch, and socket to see if you can get them working again. While you can undoubtedly have your mechanic take care of the issue for you, these steps may be simple enough that you can do your own car maintenance and save a little money.