What to Do When You Arrive at Your Campsite With Your RV
Are you new to the RV lifestyle? If you are, your head is probably spinning from everything they tried to teach you about your new outdoor rig at the dealership. With RV prices soaring and sales skyrocketing, dealers don’t have the time to walk every new owner through everything they should know about their new purchase.
Instead, they give you a blisteringly quick walkthrough and send you on your way. With so little information, you’re apt to stop at your initial campground visit wondering what to do next—or even first.
Print out a checklist
Fortunately, Glamper Life has you covered with a campground set-up checklist you can print out. It’s such a handy checklist that you may want to have it laminated for long-term use. The checklist consists of three parts that walk you through the entire process, from checking in at the campsite to getting your RV safely set up and ready to use.
Check-in at the campsite
Confirm that the campsite you’ve reserved or are interested in has all of the amenities you need. Those will probably include electricity, water, and sewer at a minimum. TV and WI-FI are also commonly available amenities. Find out where the bathhouse and dumpster locations are located and ask for a list of campground rules. And don’t forget to pay for the site to secure your reservation.
To make check-in more manageable, it’s a good idea to have an index card or file on your phone with essential information about your RV. That should include the make, model, year, overall length, and license plate info for all of your vehicles.
Check out the campsite
It is best to scope out your campsite when you arrive before you pull in. Try to take a walk-through to check for things that could damage your RV, like broken glass or low-hanging branches. Also, be on the lookout for anything nasty that the last camper’s dog may have left behind.
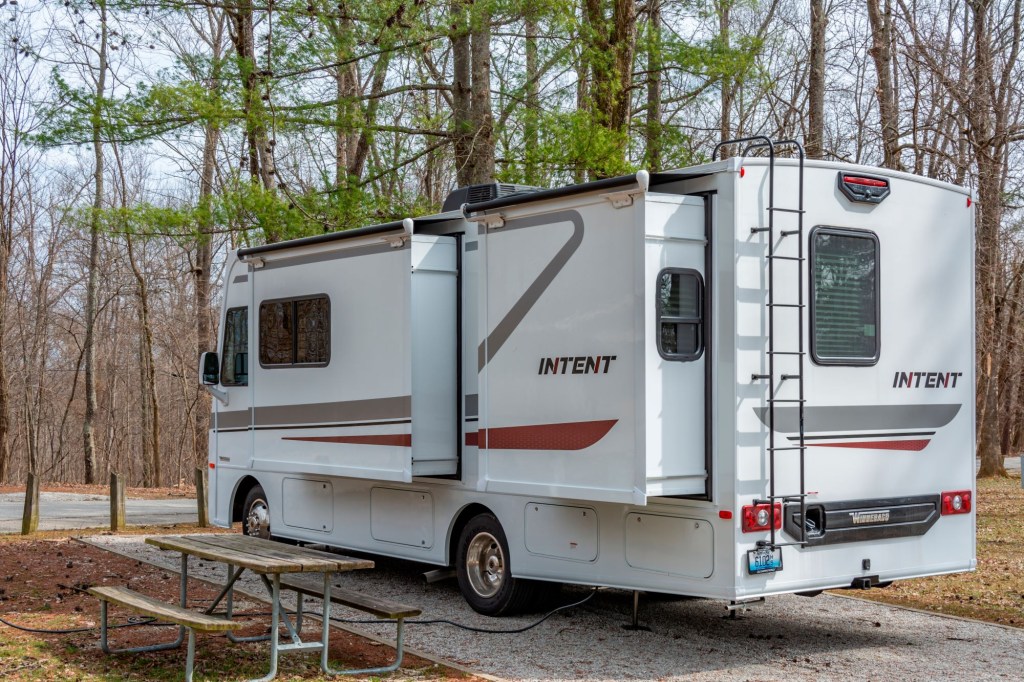
Once you’re sure the campsite is clean and safe for your rig, pull your RV in until it is relatively level and close enough to reach the hookups. You’ll finish leveling it later. Chock the wheels and put your jacks down.
Finish setting up your RV
First, make sure your RV is level by using the onboard leveling system or leveling blocks under the wheels. Don’t connect anything up until you’ve made sure it’s level.
Turn the electrical breaker off at the electrical post, plug your electrical cord into your camper, then into the receptacle on the campsite, and finally, turn the breaker back on. It’s a good idea to use an RV surge protector to protect your rig from being damaged since you’ll be hooked up to an unfamiliar and well-used power source that could cause potential problems.
Ensure all water fixtures in your RV are off, then connect to the water source using a pressure regulator and a potable water hose. The pressure regulator ensures that unexpectedly high water pressure doesn’t burst your pipes.
Connect the black and gray water hoses but don’t open the valves yet. You’ll only open the valves when you’re ready to dump. Always dump the black tank first, followed immediately by the gray. That way, all of that gray water will help flush away any solid waste from the black tank.
After the utilities are hooked up, it’s time to switch the refrigerator from propane to electric and get ready for life in your RV. Put out the slides and awning, set up some comfy camp chairs, and congratulate yourself on successfully setting up your first RV campsite.
It’s incredible how proper planning, having a checklist, and researching campsites can enhance the camping experience for even the newest RV travelers.