How to Add Automatic Headlights to an Older Car
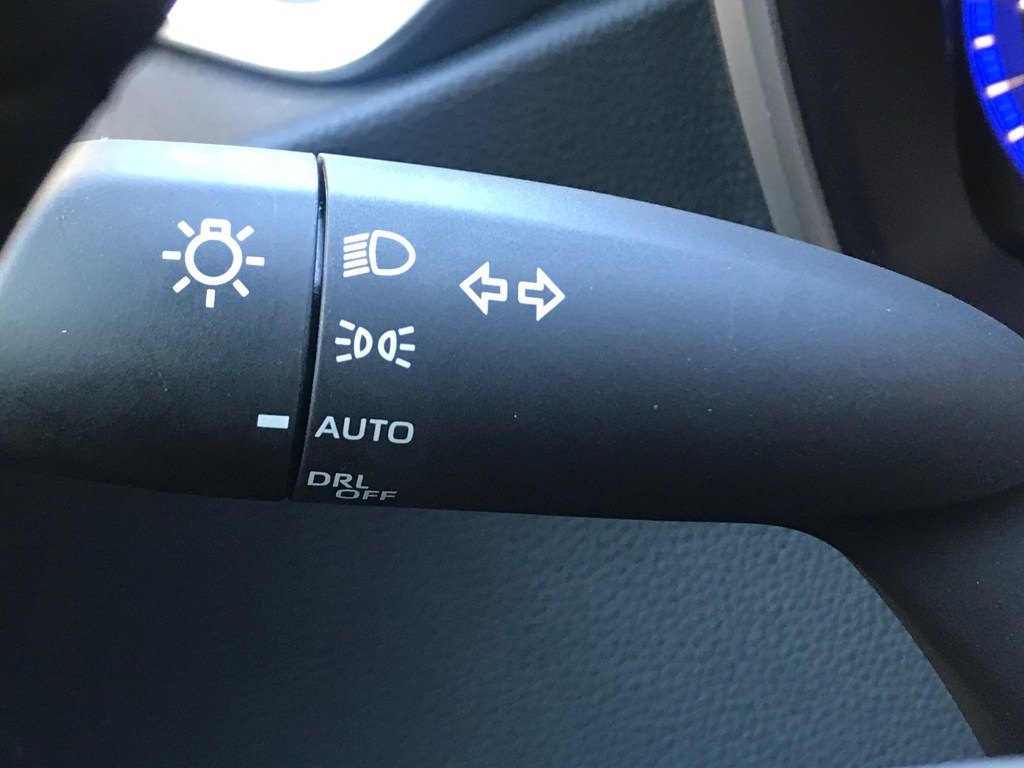
Automatic headlights have been installed on new cars for decades, however, they were mostly found on higher-end luxury models. Nowadays, you can find that handy “auto” setting on almost every car’s turn signal stalk denoting that it’s equipped with automatic headlights. But what if you own an older car, or a car of any age, that is not equipped with auto headlights? Here is how you can install them.
How do automatic headlights work?
Before you can install automatic headlights in your car, it’s important to understand how they work. In an automatic headlight setup, there is always a photoelectric sensor involved, which is usually embedded in a panel and positioned around the windshield area. When it starts to get dark outside (or lighter), the photoelectric sensor relays the message to a control unit that then turns the headlights on or off, depending on the time of day.
It’s a pretty simple setup and fortunately, there are a number of aftermarket kits that will fit nearly any car, new or old. The best part is that many of them only cost around $40 or so, depending on which kit you buy and where you buy it from.
Installing an automatic headlight kit
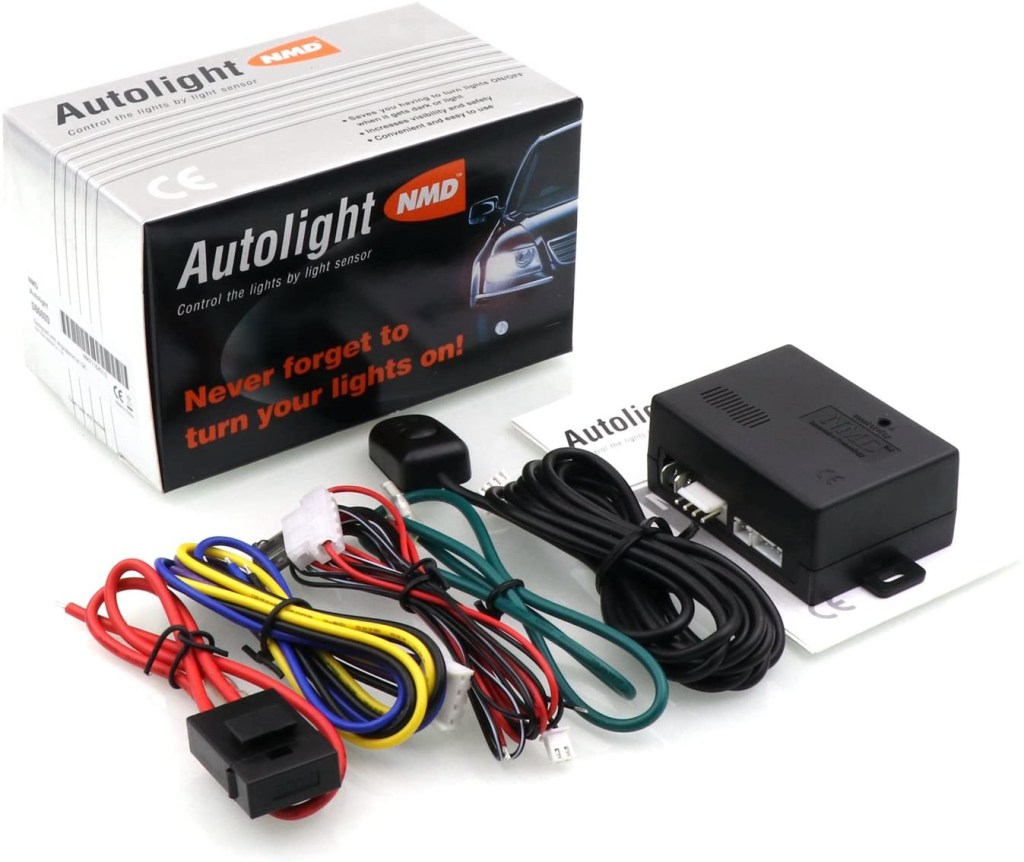
When you purchase an automatic headlight kit for your car, it will likely come with a photoelectric sensor, a control unit, a mounting kit, and some extra wiring to connect everything together. Now, when it comes to installing the kit, the difficulty can vary depending on the type of car that you own. That being said, here are some general instructions that will allow you to install an auto headlight kit into your car:
- Mount the photoelectric sensor: The first step is to figure out where you want to mount the photoelectric sensor. The base of the windshield or near the rearview mirror are good spots as they both see the most amount sunlight. Then you’ll need to affix the light sensor to that spot and run the power and ground wires over to the control box.
- Mount the control unit: Next, you’ll want to find a spot to mount the control box. Behind the glove compartment, under the dash, or in the center console are all good spots. Itstillruns recommends using double-sided tape or any mounting hardware that came with the kit.
- Wiring: After you have the sensor and control box in a secure place, it’s time to wire everything up. Wire the sensor to the control box with the power and ground wires and be sure to crimp them tightly. Then you can wire the control unit to the factory light switch so that it can control the headlights. Remember to consult your car’s factory wiring diagram to find out which wires to tap into.
- Tuck and secure everything: After everything is wired up, be sure to make sure that they are working properly. You can simply place your hand over the light sensor to simulate darkness and get the headlights to turn on. Once you have verified they are working properly, tuck in all of the wires and replace any interior panels or components that you removed for the install.
Installing automatic headlights is easy, but you can get them professionally installed as well
If you don’t want to deal with the slight hassle of installing automatic headlights onto your older car, then you can always have the job done by a qualified stereo installer. Just note that you may need to pay for an hour (or two) of labor, which may not come cheap.
Automatic headlights were once reserved for high-end luxury cars and exotics, but nowadays, even your old 1987 Honda Civic can have them. All it takes is an auto headlight kit and a little bit of wiring to get the job done.