How Do I Get Rid of the Condensation in My Taillights?
Have you ever looked at your car’s head or taillights after a rainy day and noticed a buildup of water condensation in them? While condensation can go away in a couple of days, it can reduce visibility if you’re driving at night. Here is how to get rid of the condensation in your car’s taillights.
Remove water from the taillight
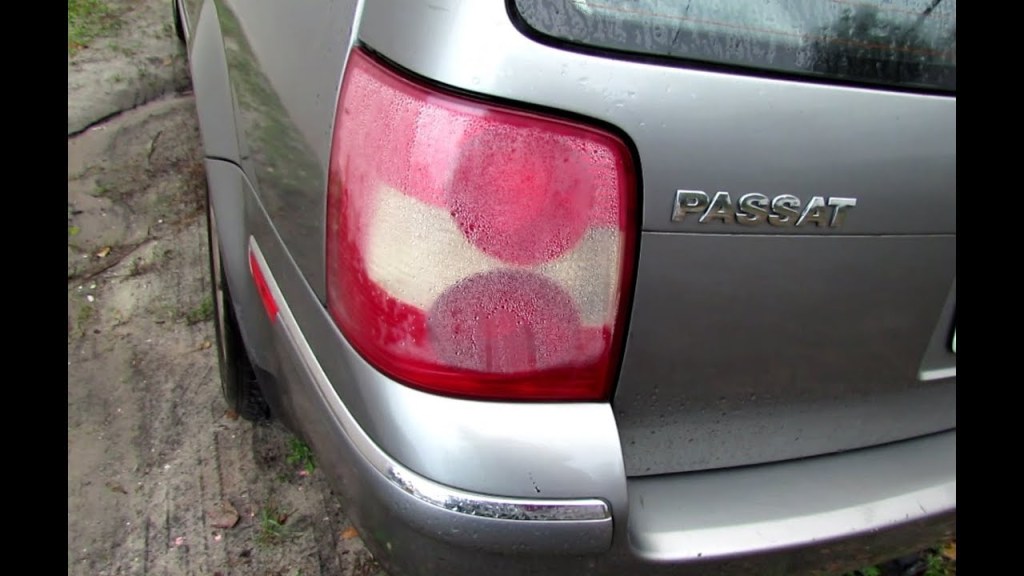
While you might think that your car’s head and taillights are completely airtight, they are not. And while every taillight is sealed from the factory with a strong adhesive and gaskets, it is possible for water to pool up in them over time. In fact, it’s even possible on new cars as well.
According to YourMechanic, the condensation build-up can eventually wear out the taillight, burn out the bulb, and make the taillight useless, so it’s important to get the water out and fix the issue.
If you want to simply dry the inside of the taillight assembly, then you can use a hairdryer or heat gun to do it. Carefully run the dryer or heat gun back and forth on the outside of the casing to dry the water remaining inside; take care not to burn the housing.
However, if you would rather fix the issue, or if there is an excessive amount of water buildup, then you might want to remove the taillight altogether. Here are some steps that you can use to remove the water from the taillight assembly.

Remove the taillight assembly
The procedure to remove the taillight assembly from your car will differ from other cars, so be sure to check the owner’s manual or find a tutorial online for your specific application. Otherwise, the procedure from car to car is largely the same. You can use a pair of needle-nose pliers and a basic set of tools.
- Step 1: Disconnect the car’s battery
- Step 2: Remove the taillight – Follow your vehicle’s service manual to remove the covers. The basic procedure is to remove the covers behind the taillight and then the taillight’s electrical harness connector. Then remove any clips or bolts that are securing the taillight to the car’s body.
- Step 3: Detach the taillight from the vehicle – After you have removed all of the bolts and clips, pry the taillight away from the car to remove it completely.
- Step 4: Remove the light bulb from the taillight.
- Step 5: Locate the source of the leak – One way to do it is to fill the light partly with water and then move it around to see where the water leaks out. Or you can simply do a visual inspection. Most times, water leaks are due to a bad seal in the housing.
- Step 6: Seal the taillight – When you find out where the leak is, you can reseal the light using a weather-strip adhesive. If the taillight requires more drying, then you can either let it air dry or speed up the process with the hairdryer or heat gun.
- Step 7: Reattach the taillight – After you have dried out and resealed the taillight, reattach the taillight to the car by reversing the process of taking it out.

Can I put my taillight in the oven?
If you want to completely separate the taillight housing in order to dry up the inside of it, then one popular method is to put the taillight in your oven. Doing so will make the factory adhesive more pliable so you can take the assembly apart easily.
According to JDMtoy.com, you can set your oven to 350 degrees Fahrenheit and heat the taillight for around six to eight minutes. Just be sure to put wet paper towels on the headlight lens and set the taillight on a wet piece of cardboard to prevent it from burning.