Brake Bleeding DIY: How to Use a Vacuum Pump to Bleed Your Brakes
Bleeding brakes is one of the best DIY car maintenance items one could know how to do. After all, there’s arguably nothing more unsafe than a failing brake system on your car. However, bleeding brakes can be a bit of a daunting job. Additionally, without any special tools, it typically requires two people to do. One to pump the brakes and the other to open and close the bleeder valve. However, with the use of a pneumatic vacuum pump, it can easily be a one-person operation that takes very little time.
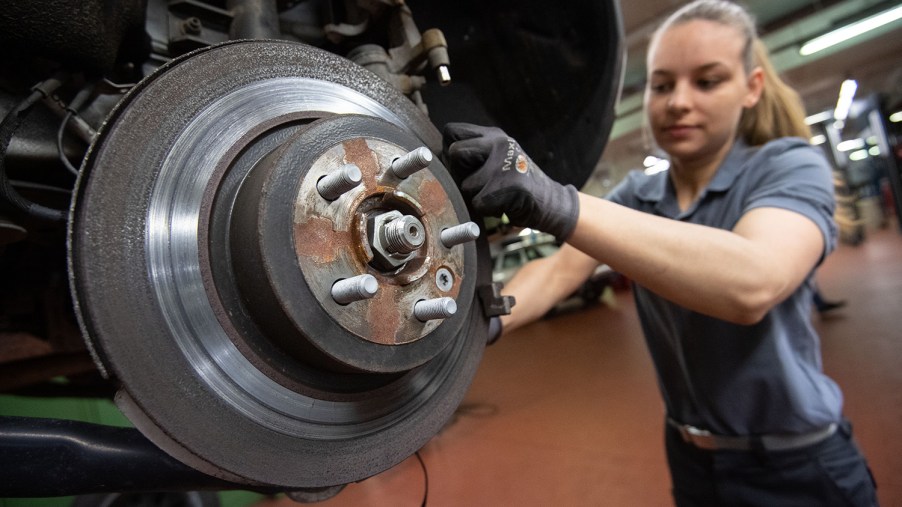
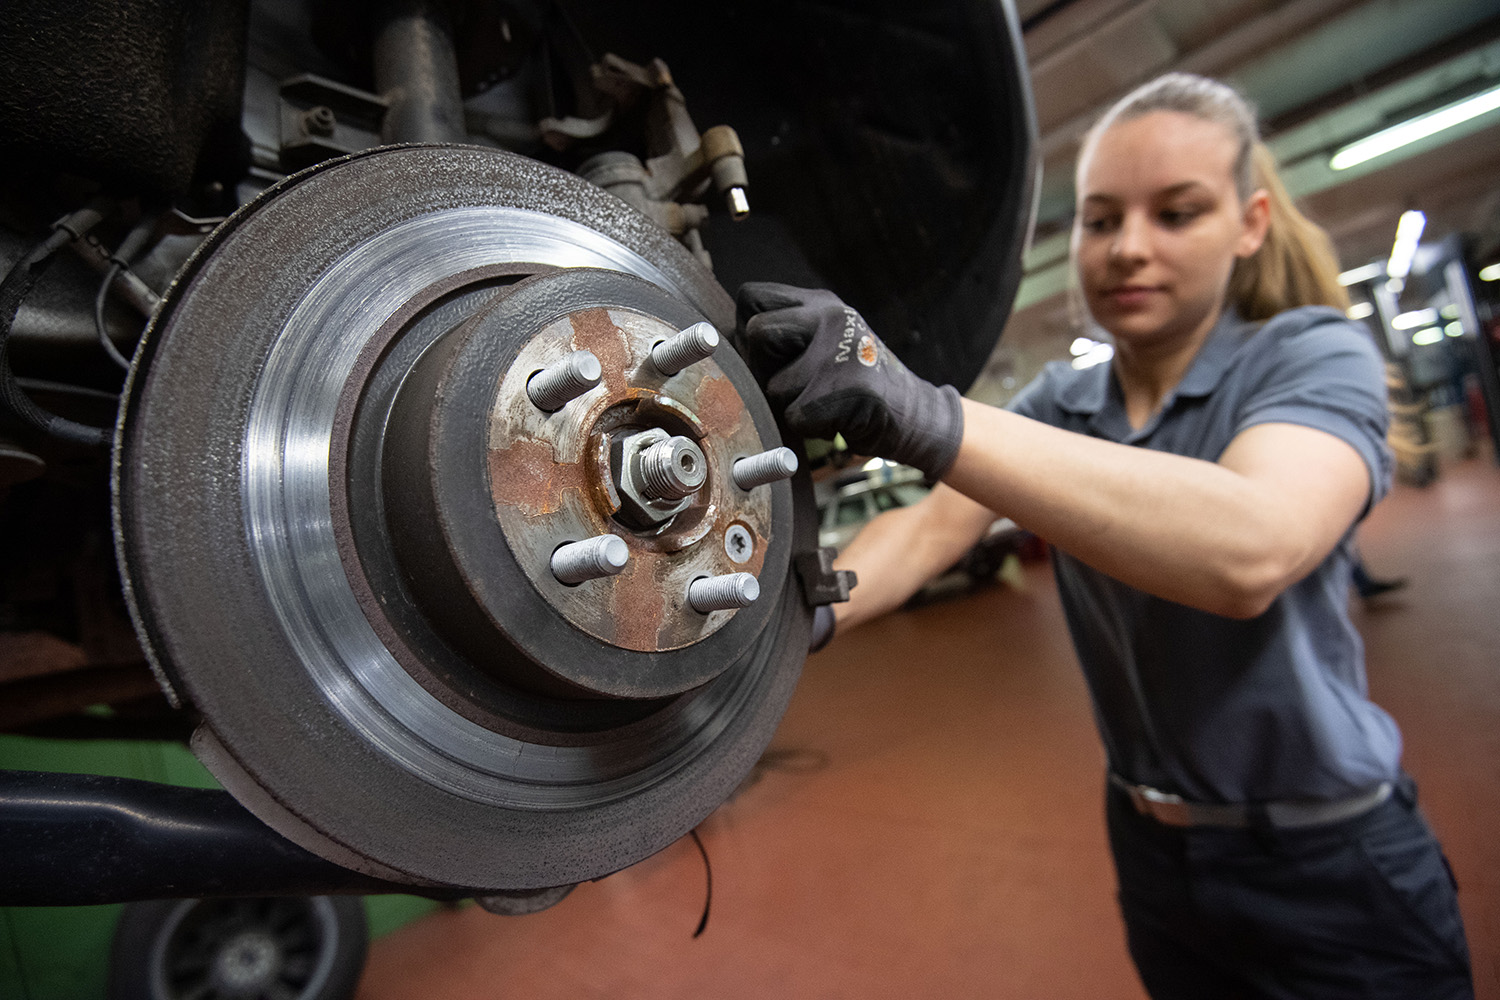
A pneumatic vacuum pump makes brake bleeding fast and easy
Whether you’ve recently done some maintenance to brake system components, replaced parts, or are just flushing out old fluid, a vacuum pump is by far the easiest and most efficient way to bleed brakes.
The Drive recently put out a super helpful step-by-step guide on how to achieve this.
First and foremost, you always want to start with the brake caliper that has the longest brake line. Typically, that’ll be the one furthest away from the brake master cylinder. This means, on left-hand drive cars, it’s usually the passenger side rear.
Pneumatic pumps need an air compressor to function. So, the first step once your vacuum pump is assembled is to connect it to your air compressor and turn it on. Then, you should feel suction on the hose that goes to the bleeder valve.
Carefully ensure that you can open your brake bleeder valve. If you are struggling, a penetrating fluid like PB Blaster or Free-All can be a lifesaver. Use quick taps to break a sticky bleeder valve loose. Continually applying a twisting force can cause the valve to snap off inside the caliper.
Once you’re sure, you can loosen the bleeder valve, put the vacuum hose over the end and ensure it’s a snug fit. You don’t want any excess air bleeding into the system from a loose fit.
Once the vacuum hose is snug, open the bleeder valve and begin siphoning the brake fluid! Be sure to keep an eye on the brake reservoir, and don’t let it drop below the minimum line. Otherwise, you may introduce new air to the brake system and have to flush it all the way out.
Rinse and repeat!
Once all the old fluid and air have been let out of the system (you should see fresh, clean fluid in the hose with no air bubbles), properly tighten the bleeder screw before removing the hose. Otherwise, again, you may be letting air into the brake system.
Now, repeat this process for the remaining brake calipers in order going from furthest to closest to the reservoir. Typically, that means next doing the driver rear, then the passenger front, and finally, the driver front.
After your brake system is thoroughly bled, ensure that all the brake components, especially pads and rotors, are free of any excess brake fluid. Make sure you clean up any brake components with brake clean if any foreign materials got on them. Then, get in your car and ensure you’ve got a properly stiff brake pedal with no spongey feeling.
If the pedal is soft from time to time, that means you’ve likely got some rogue air in the brake system. So, you’ll have to bleed the system again. This is where the importance of tight-fitting hoses and properly monitoring the reservoir level come into play. If you’ve done so, you may have a small leak in your brake lines somewhere.
If the pedal is firm and functioning as it should, congratulations! You’ve properly bled your brake system.
Overall, brake bleeding can seem like a daunting DIY task, but it’s actually quite simple! Once you dive in and do it yourself, you’ll see that it’s nothing to be afraid of and can save you hundreds versus having a shop do it!